[Intro] The House is Built, but There’s No Address
In the last post, we successfully built a comfortable country house (instance) on AWS Lightsail for $7 a month. However, there is one problem. When inviting a friend, you have to say, “My home address is 43.200.12.34.” Numeric IP addresses are convenient for machines, but a nightmare for humans.
Furthermore, our front door is currently wide open. The “Not Secure” warning next to the browser address bar makes visitors anxious. It means that when someone leaves a comment on my blog, that information wanders through the internet unencrypted.
In this post, we will cover the process of purchasing an easy-to-understand street address (Domain), connecting it, and applying encrypted communication (SSL) to secure data. In particular, SSL setup used to be the biggest headache for developers in the past, but it has become surprisingly simple in Lightsail.
[Concept Note] Doorplate and Security System
For beginners, let’s summarize the two key concepts we will cover today using real estate metaphors.
1. Domain = Street Address The actual location of the server is an IP address like 192.168.0.1 (Latitude/Longitude). But we don’t walk around memorizing coordinates. Instead, we hang a memorable doorplate like seoul.com. Purchasing a domain is the act of registering your own unique doorplate in the internet world.
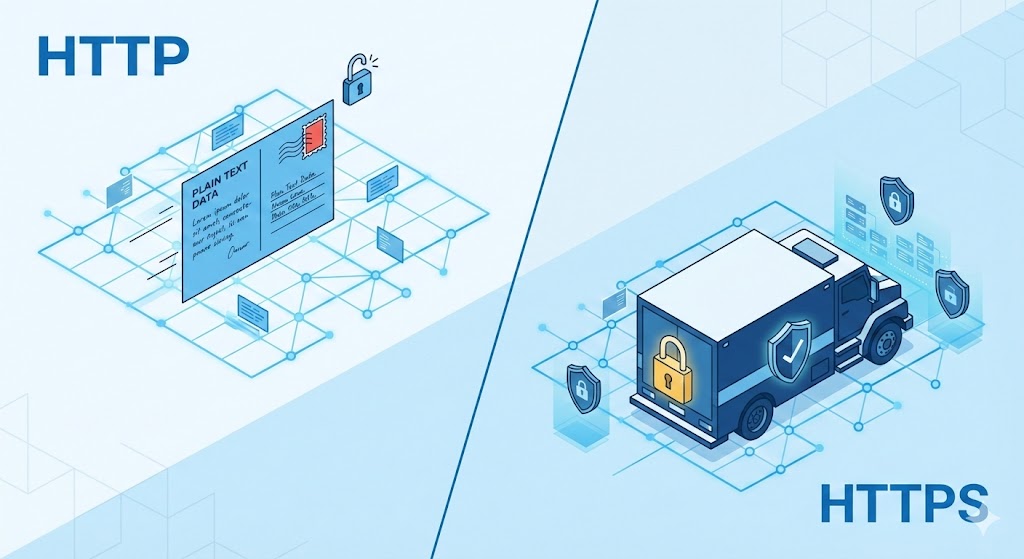
2. SSL (Secure Sockets Layer) = Armored Truck Lock The web of the past (HTTP) was like a postcard. A mailman (hacker) could read the contents if they wanted to. The web with SSL applied (HTTPS) is a sealed armored truck. Data travels encrypted from origin to destination, so even if someone intercepts it in the middle, they cannot know the contents. The padlock icon in the address bar is a guarantee check saying “This truck is safe.”
[Decision] Why AWS Route 53?
There are many places to buy domains, such as Namecheap, GoDaddy, etc. Price-wise, low-cost vendors might be more advantageous, costing around $10 per year for a .com. AWS Route 53 is not the cheapest, costing about $15 per year.
Nevertheless, I chose Route 53. The reason is simple: ‘Consolidated Management’. If the server is on AWS but the domain is elsewhere, you have to log in to two sites every time you change settings. Using Route 53 combines billing into one, and above all, integration with Lightsail is excellent. I considered the extra cost as paying for convenience.
[Action 1] Buying a Domain and DNS Connection
Now let’s buy a real address for my house and connect it.
1. Domain Shopping Go to Route 53 in the AWS console and proceed with ‘Register domain’. If you enter a desired name (e.g., ys-note) in the search bar, various extensions (TLDs) appear with prices at the bottom.
.com: The most popular and trustworthy. ($13~$15).net,.org: Worth considering if the .com is taken..site,.click: Cheap, but can be mistaken for spam sites.
I chose the most standard and popular .com. Add to cart and proceed with payment. When entering personal information, set Contact Type to ‘Person’.
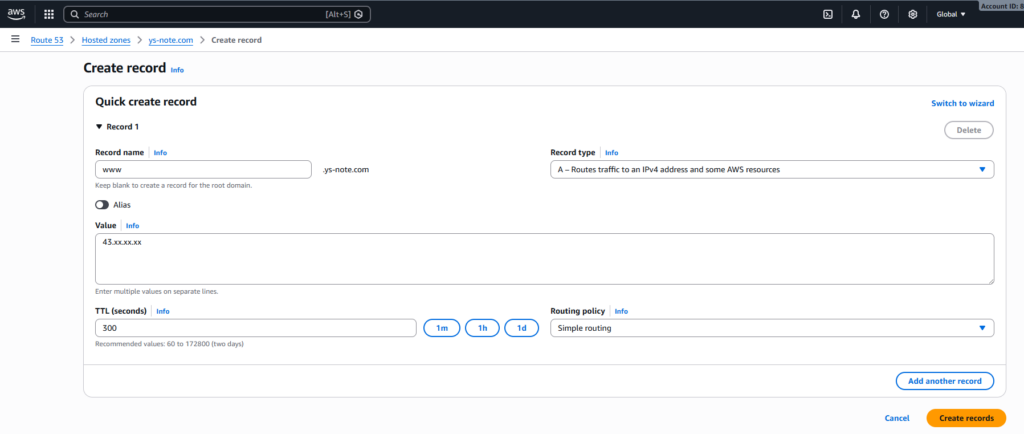
2. DNS Record Setup (Wiring) Buying a domain isn’t the end. You need to put up a sign saying “If you type this domain, go to that server.” This is called DNS record setup.
- Click ‘Hosted zones’ in the Route 53 menu.
- Click the purchased domain, then click the ‘Create record’ button.
- Select Record type A: ‘A’ stands for Address. It matches the domain and IP.
- Value: Enter the static IP of Lightsail created in the last post (Part 3).
[Action 2] Magical SSL Certificate Application
Now it’s time to apply security. Back in the day, this process was truly arduous. I remember when deploying a Vue.js project, I had to manually issue certificates with OpenSSL and stitch together the encryption key paths in the Nginx configuration file. One typo would crash the server, or I’d miss the renewal date and paralyze the site.
But AWS Lightsail (specifically the Bitnami stack) solved this process with a magical tool called bncert-tool. You can forget complex OpenSSL commands.
1. Connect via Terminal Click the orange terminal icon (Connect using SSH) in the Lightsail console.
2. Run bncert-tool When the black screen appears, type the following command: sudo /opt/bitnami/bncert-tool
3. Interactive Setup Now just answer what the tool asks.
- Domain list: Enter the purchased domain. (e.g.,
ys-note.com www.ys-note.com) - Redirect HTTP to HTTPS: Of course
Y. Force secure connection. - Email: Enter the email to receive certificate renewal notifications.
Once this process is done, a free certificate (Let’s Encrypt) is automatically issued, and web server settings are automatically changed. There is no need to wrestle with configuration files like before.

[Troubleshooting] Post-Setup Checklist
Q. I can’t access the site or I see the old screen. It takes time for DNS information to spread (propagate) across the global network. Usually around 30 minutes, but it can take up to 24 hours. Have a cup of coffee and wait patiently.
Q. I don’t see the padlock. It might be a browser cache issue. Try accessing it in Incognito mode. If you see the padlock icon next to the address bar, it’s a success.
[Conclusion] Finally became a proper website
Now, if you type my domain in the address bar, it connects via secure HTTPS. No need to memorize IPs like 43.200…, and no “Not Secure” warning for visitors.
You’ve worked hard to get here. Let’s settle the interim costs.
- Server (Lightsail): $7/month (The 1GB RAM plan we chose)
- Domain (Route 53): $15/year (Approx. $1.25/month)
- SSL Certificate: Free for life (Let’s Encrypt)
- Total: Just over $8 per month ($8.25)
Now the hardware and infrastructure setup is perfectly complete. From the next post, we will officially access the WordPress admin screen, shed the crude default theme, and start applying a developer-style design.