“Wait, did that build really just finish?”
After experiencing how convenient Docker was, I started secretly moving my development environment over to Docker bit by bit without telling my team lead. I wrote a blueprint called a Dockerfile and ran the docker build command.
The first time took quite a while. It spent about five minutes downloading Ubuntu, installing Java, and fetching the libraries, JAR files, for my project. “Well, of course it takes longer the first time.”
But when I fixed a single typo in the code and hit build again, I doubted my own eyes. The moment I pressed Enter, the terminal printed Successfully built. Total time taken: just 0.1 seconds.
“Wait, is it broken? It took five minutes a moment ago. How did it suddenly finish instantly?”
I nervously started the server, but the code had been updated perfectly. So what exactly was happening inside Docker? The secret behind that insane speed was Docker’s unusual storage mechanism called the ‘layer.’
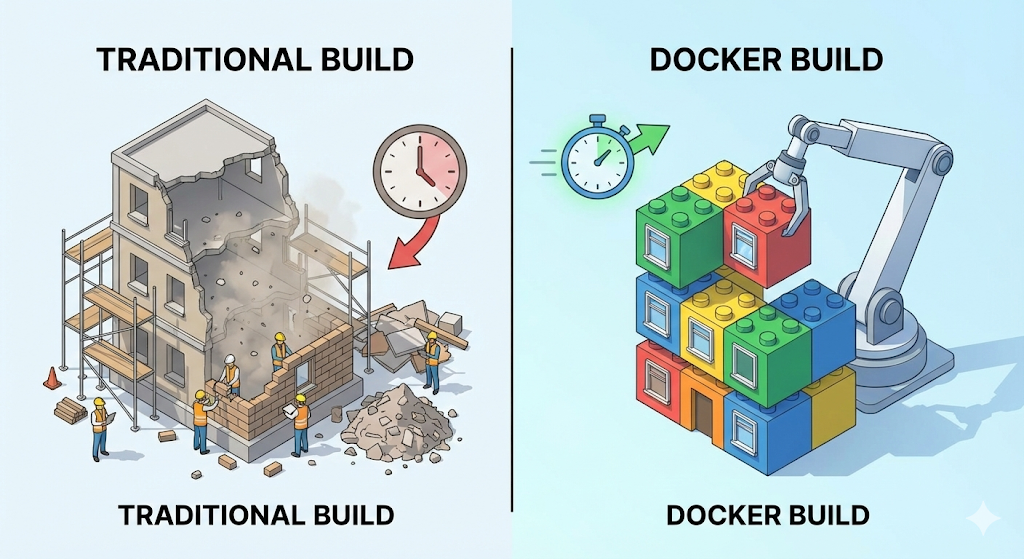
Image and container
Before we dive into the mechanism itself, let’s first clear up two terms that often get mixed up.
What we send to the server during deployment is not a ‘container,’ but an ‘image.’ The server only needs to receive that image and run it.
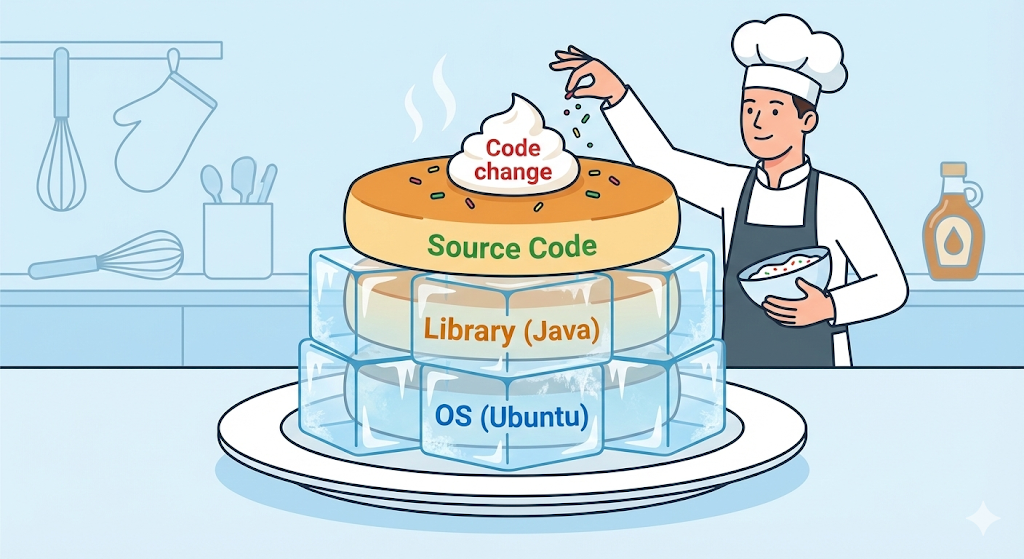
Layer: the magic of transparent cellophane
A Docker image is not a single solid file. It is more like stacking multiple sheets of transparent cellophane, layers, on top of one another. Every single line of instruction written in a Dockerfile becomes its own layer.
Let’s take an example.
# Layer 1: install Ubuntu (OS)
FROM ubuntu:20.04

# Layer 2: install Java
RUN apt-get install openjdk-17-jdk

# Layer 3: copy my code
COPY my-app.jar /app/my-app.jar

# Layer 4: run it
CMD ["java", "-jar", "/app/my-app.jar"]
If you read through the contents of a Dockerfile carefully, you realize the structure is not that complicated. “Install Ubuntu, FROM, install Java, RUN, bring in my code, COPY, and execute it, CMD.”
In the end, all we did was take the server setup process that we used to type by hand inside a VM or a server terminal and write it down as a document. With just that one document, Docker performs the installation steps automatically without anyone having to guide it. This concept also connects later to the core principle of CI/CD automation.
But why doesn’t Docker just flatten the whole process into one step? Why does it bother splitting everything line by line into separate layers and stacking them carefully?
The answer is reuse through caching. If I modify the code and build again, Docker thinks smartly: “The first floor, the OS, and the second floor, Java, are exactly the same as before. Then I should not rebuild them. I should just reuse the cached layers I already created.”
Then it rebuilds only from the changed third floor onward, the code copy step. That is why the second build finished in just 0.1 seconds.
[Code Verification] Seeing the layer cache with your own eyes
Let’s verify it with code and not just words. All you need to do is create a simple Dockerfile and build it twice.
FROM alpine:latest
RUN echo "1. Installing basic utils..." && sleep 2 # Takes 2 seconds
COPY test.txt /app/test.txt
CMD ["cat", "/app/test.txt"]
$ docker build -t my-test:v1 .
# Result:
# [2/3] RUN echo "1. Installing basic utils..." ... 2.1s (took 2s)
$ docker build -t my-test:v2 .
# Result:
# [2/3] RUN echo "1. Installing basic utils..." ... CACHED (0s!)
Do you see the word CACHED clearly printed in the log? That is proof Docker skipped the step that normally takes two seconds.
Practical advice: order is everything
Once you understand how layer caching works, the answer to how to write a Dockerfile becomes obvious. The core principle is simple: “Put the parts that rarely change lower down, earlier, and the parts that change often higher up, later.”
Bad example:
# 1. Copy source code first (changes often)
COPY . .
# 2. Install libraries (rarely changes)
RUN npm install
Source code changes dozens of times a day. If step 1 changes, Docker invalidates the cache for step 2, library installation, as well, and reruns everything. You fix one line of code and end up waiting for npm install all over again.
Good example:
# 1. Copy only package.json first
COPY package.json .
# 2. Install libraries (stays cached even when source changes)
RUN npm install
# 3. Copy source code
COPY . .
Just changing the order like this can make the build ten times faster. That is the difference between a Docker beginner and someone who really knows what they are doing.
Practical advice 2: tags are your lifeline
In the example above, I wrote docker build -t my-test:v1 .. Here, the v1 that appears after the colon, :, is the tag.
Many beginners skip tags because they feel like a hassle. When they do, Docker automatically assigns the tag latest.
This one tag habit will protect your evenings later.
In closing: holding the magic of 0.1 seconds in your hands
A Docker image is not just a bundle of files. It is a technical artifact layered as efficiently as possible to deliver an environment. If you understand layer caching and simply order your Dockerfile correctly, you can build a lightweight, fast deployment environment that finishes in 0.1 seconds.
Now everything is ready to freeze my computer environment perfectly into an image and send it to the server.
But once I actually tried to run that image on the server, a new question appeared. A web service does not run on just a single server container. It also needs a database, Redis, and a frontend server.
Can all of those containers really be managed by turning them on and off one by one with separate commands? How do they communicate with each other? Going beyond a single image, how do you structure an entire application? Next time, let’s expand Docker’s worldview with the concepts of containers, services, and stacks.