Automation is not something unfamiliar
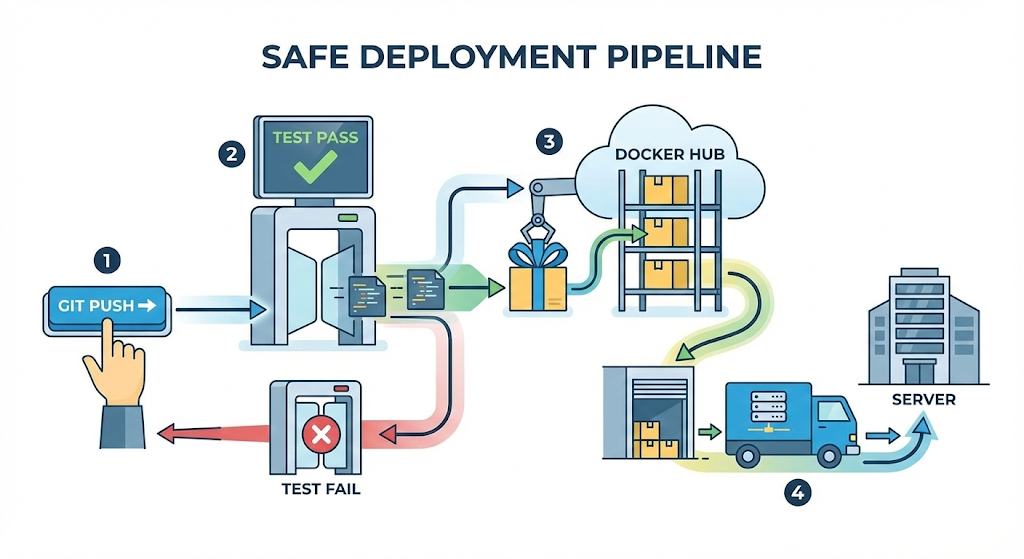
Last time, I learned a painful lesson through 10 minutes of downtime and an incident report. Deployment is not magic. It has to be a chain of strict safety devices: “Git, record – Test, verify – Build, package – Deploy, deliver.”
Now the goal has become clear. I cannot keep checking these complex and annoying safety devices with my own hands every single time. I need a diligent robot that will work in my place even after I have gone home, or when I am on vacation.
“Automation? Is that not a bit too grand?”
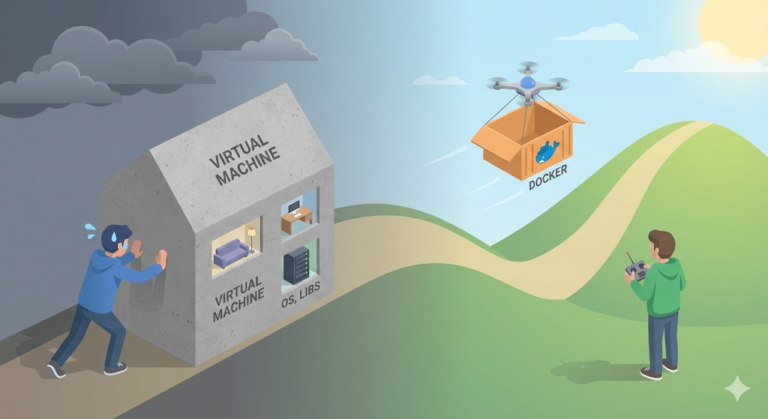
At first, it felt intimidating. But the more I thought about it, the more I realized I had already experienced something very similar. It was “Docker,” which we covered in the previous series.
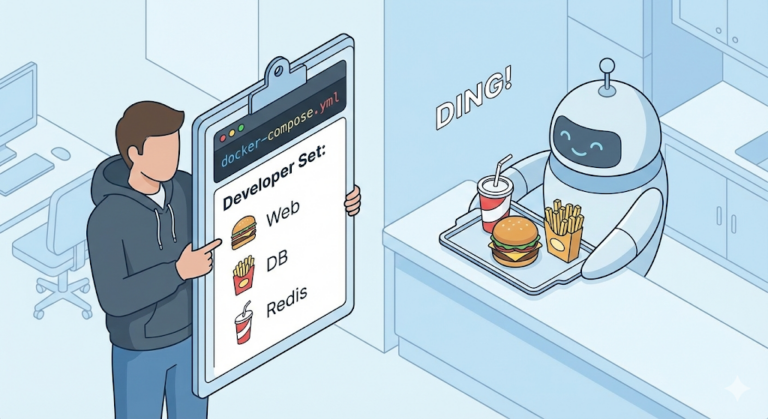
When we write “install Ubuntu, install Java, copy the code” into a Dockerfile, Docker reads it and sets up the server environment on its own. Thanks to that, we were freed from the manual labor of typing commands one by one.
A “CI/CD pipeline” is exactly the same idea. If Docker automated “server setup,” then the pipeline automates “the entire deployment process.” The only difference is that the stage has grown from your own computer into a bigger arena called “GitLab and the production server.”
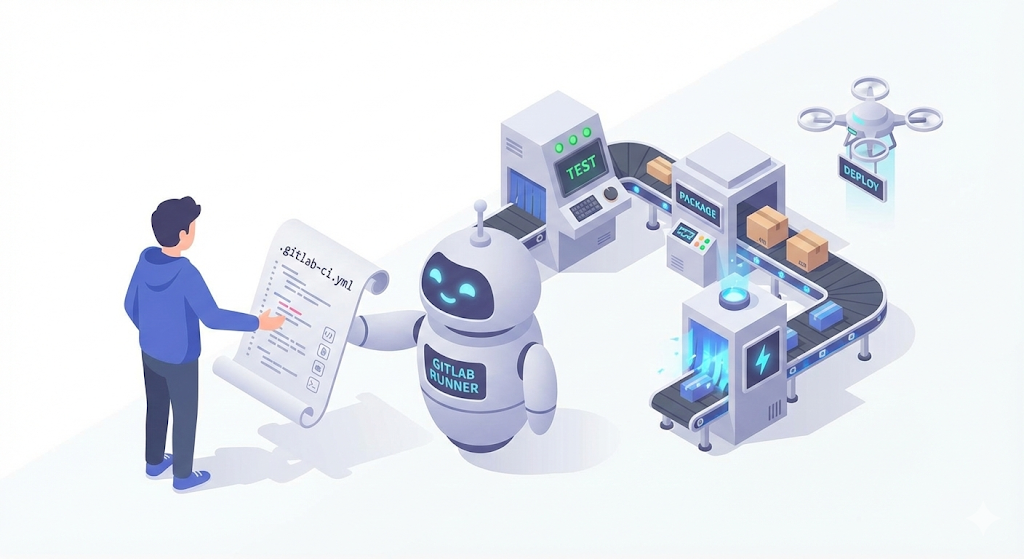
CI/CD: the automated conveyor belt
Now let’s install an “automation line” in our “digital logistics center.” It sounds grand, but the principle is simple.
1. CI (Continuous Integration)
- Meaning: “Keep merging developers’ code into one and checking it.”
- Role: [Build + Test]. This is the stage where, as soon as I push my code, the machine checks it for me: “Is this syntax correct?” “Did any existing features break?” Defective products get filtered out here.
2. CD (Continuous Delivery/Deployment)
- Meaning: “Deliver the code that passed inspection to the customer.”
- Role: [Image Creation + Server Deployment]. This is the stage where the good products that passed inspection (Docker Images) are loaded onto a truck, shipped to the production server, and actually started up.
The blueprint of the pipeline: .gitlab-ci.yml
“So how do we tell that robot what to do?” In GitLab, all you need is to create a file called .gitlab-ci.yml at the top level of the project. That is the “work instruction sheet” you hand to the robot.
Do you remember the pain of manual deployment that I went through last time? Let’s move that exact process into code. Just like writing a Dockerfile, you write it out line by line.
# .gitlab-ci.yml (the job instructions)

stages:          # 1. Define the order of the whole job.
  - test         #   (Stage 1: check)
  - build        #   (Stage 2: package)
  - deploy       #   (Stage 3: ship)

# [Stage 1] Test: hey machine, please check if my code is sound (CI)
unit_test_job:
  stage: test
  image: openjdk:17-alpine # Run in an environment with Java installed
  script:
    - ./gradlew test       # "Run the tests!" (prevent the previous mistake)

# [Stage 2] Build: if tests passed, build it as an image (CI)
build_image_job:
  stage: build
  image: docker:latest     # Run in an environment with Docker installed
  script:
    - docker build -t my-app:v1 .  # "Bake the image!"
    - docker push my-regisry/my-app:v1 # "Push to the registry!" (rollback tag required)

# [Stage 3] Deploy: now drop it onto the production server (CD)
deploy_job:
  stage: deploy
  script:
    - ssh user@server "docker service update my-app" # "Update the server!"
This single file is enough. The moment I do a git push, the trigger, GitLab reads this instruction sheet and wakes up a worker robot called “GitLab Runner” to do the job.
[Check] The safety devices we must include
Inside this pipeline, all three safety devices I painfully learned about last time are built in.
- Git (Trigger):
- The very act of running
pushon my local code becomes the pipeline’s “start button.” If no record (commit) is left behind, deployment does not start either.
- The very act of running
- Unit Test (Quality Gate):
- What if a test fails in
unit_test_job? The pipeline “stops (Fail)” immediately. Defective products are blocked at the source from moving on to the next stage (build/deploy). (Now I cannot skip tests just because I am busy!)
- What if a test fails in
- Docker Image (Artifact):
- The image created in the build stage is stored safely on Docker Hub. Even if the server blows up later, as long as I have this image, I can restore it in 1 second.
Practical advice: a pipeline is a living thing
Do not try to write a perfect pipeline from the start. At first, I only made two stages, build and deploy, and only after causing an incident did I add the test stage in front.
- Early stage: Build -> Deploy (the point was simply to automate it at all)
- Middle stage: Test -> Build -> Deploy (added a safety device)
- Advanced stage: Test -> Static Analysis (SonarQube) -> Build -> Deploy to Dev Server -> (Approval) -> Deploy to Production Server
A pipeline is a “living system” that keeps evolving in step with the growth of your team.
In closing: we wrote the instructions, but who actually does the work?
Now the perfect blueprint, .gitlab-ci.yml, is complete. But an instruction sheet written on paper does not move by itself. Just as a Dockerfile still needs the Docker daemon installed in order to run, a pipeline instruction sheet also needs an “on-site worker robot” that will actually sweat through the build and execution of the code.
The name of this robot is “GitLab Runner.” The factory manager, the GitLab Server, only gives instructions. The actual work is carried out by this runner.
Next time, let’s install this runner on my computer or on a separate server, connect it to GitLab, and actually run the pipeline. This is the moment when the first real button of automation is finally fastened.